


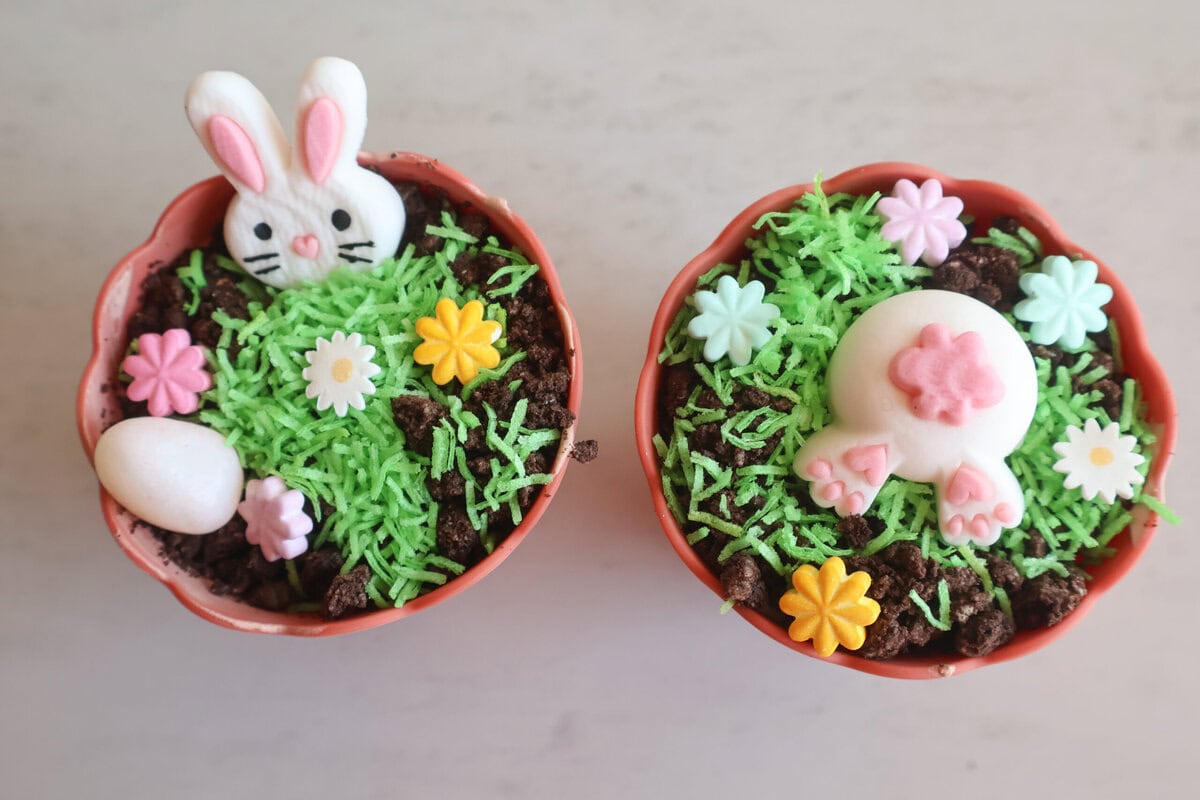
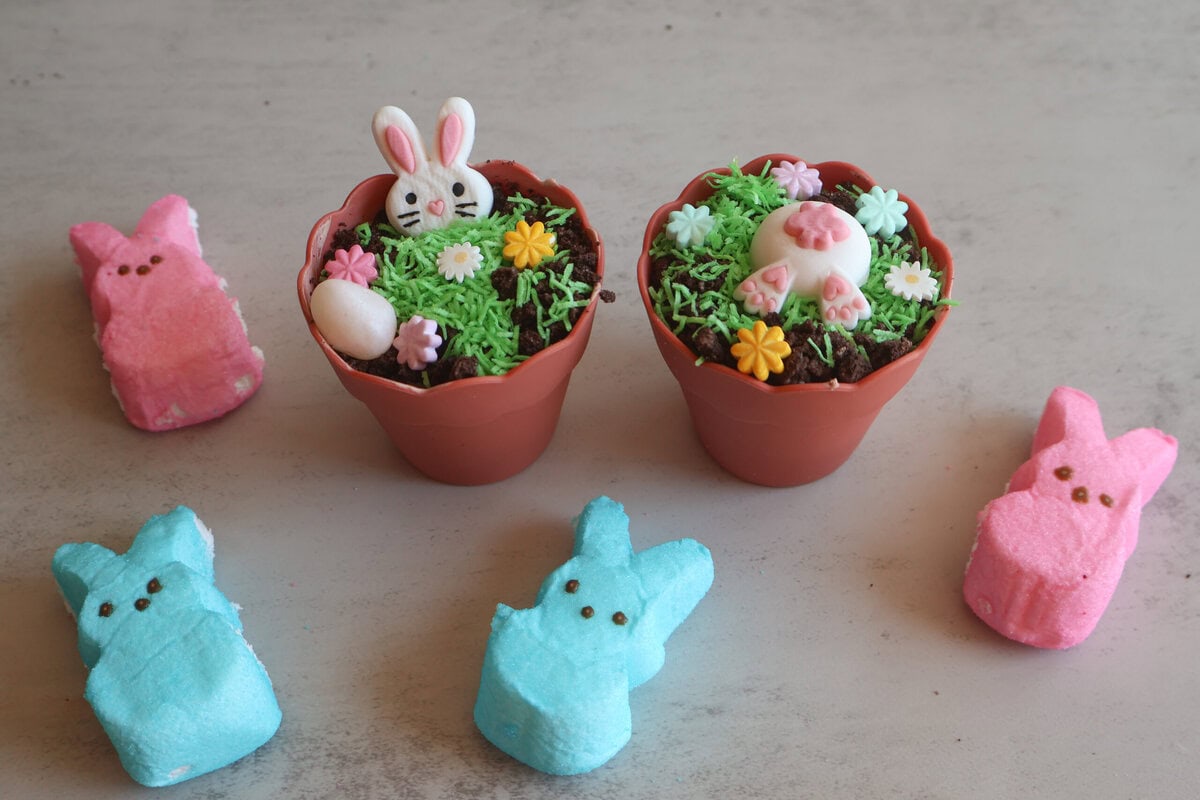
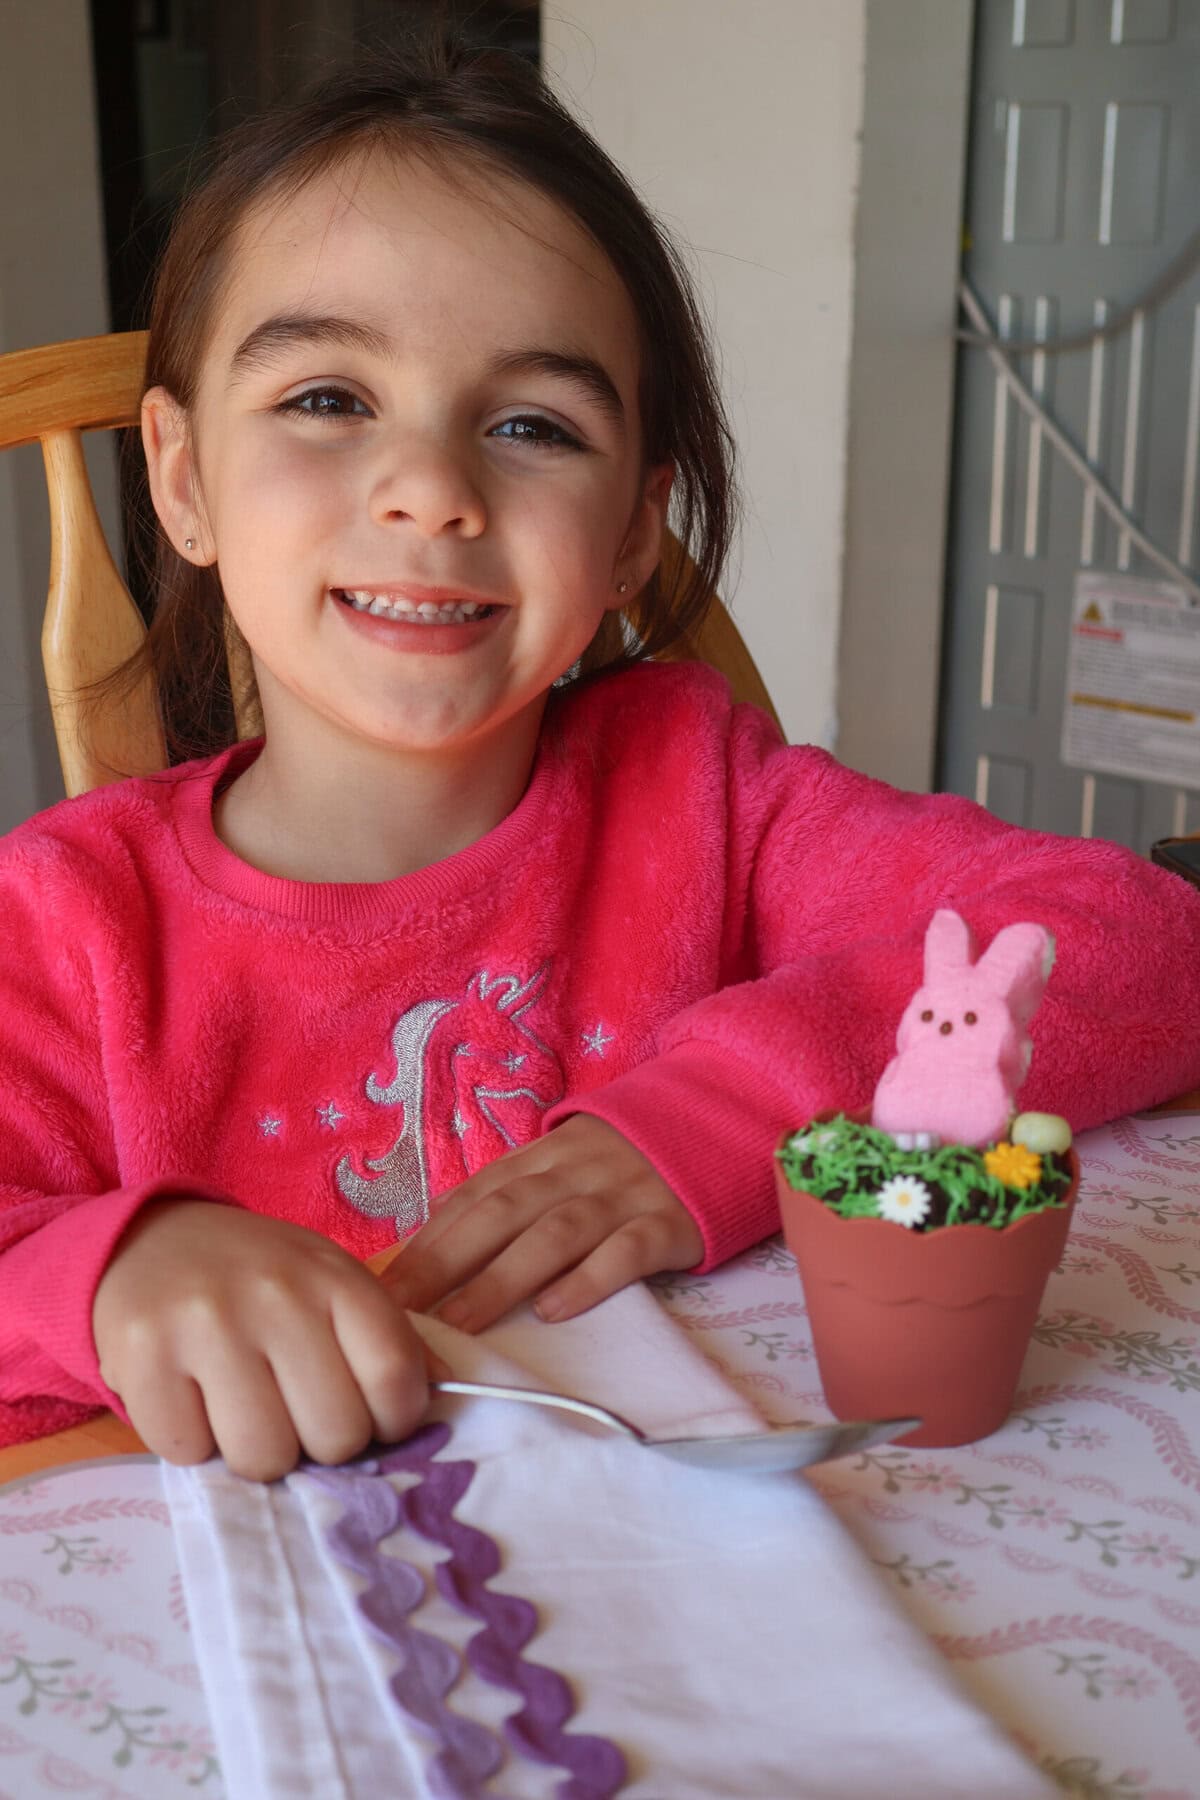
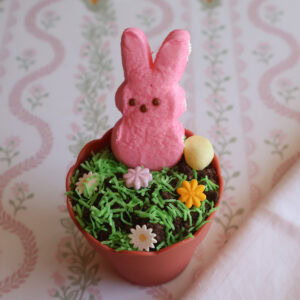
Every Easter, I love making desserts that double as decorations and these Easter Mini Flowerpot Dirt Cups are always the star of the table. They’re rich, creamy, chocolatey, and topped with the cutest edible “garden” scene using crushed cookies, candy eggs, and cookie “flowers.”
The best part? These no-bake treats are super easy, kid-friendly, and perfect for parties, baskets, or a fun afternoon in the kitchen.
💕 Why You’ll Love This Recipe:
- No baking required
- Adorable flowerpot presentation
- Perfect for kids to help decorate
- Make-ahead friendly for stress-free holidays
- Customizable with different candies and “flowers”
If you love this recipe you'll also need to try my Creamy Peanut Butter Easter Eggs (Silicone Mold Method)
Ingredients:
Jump to:
- 💕 Why You’ll Love This Recipe:
- Ingredients:
- 💕For the Dirt Filling and Dirt:
- 💕For Decorating:
- Instructions:
- 5. Assemble the flowerpots:
- 6. Top & decorate:
- 🌷 Helpful Tips & Tricks for Perfect Easter Dirt Cups:
- Texture is Everything:
- Layer Like a Pro:
- 🌼 Make the “Flowers” Look Real:
- 🐣 Decorating That Pops:
- Make Ahead and Storage Tips:
- FAQ's:
- Substitutions & Variations:
- Recent Recipes:
- Easter Mini Flowerpot Dirt Cups
💕For the Dirt Filling and Dirt:

💕For Decorating:
Instructions:
1. Make the pudding:
In a bowl, whisk together pudding mix and cold milk until smooth. Let it thicken for 5 minutes.

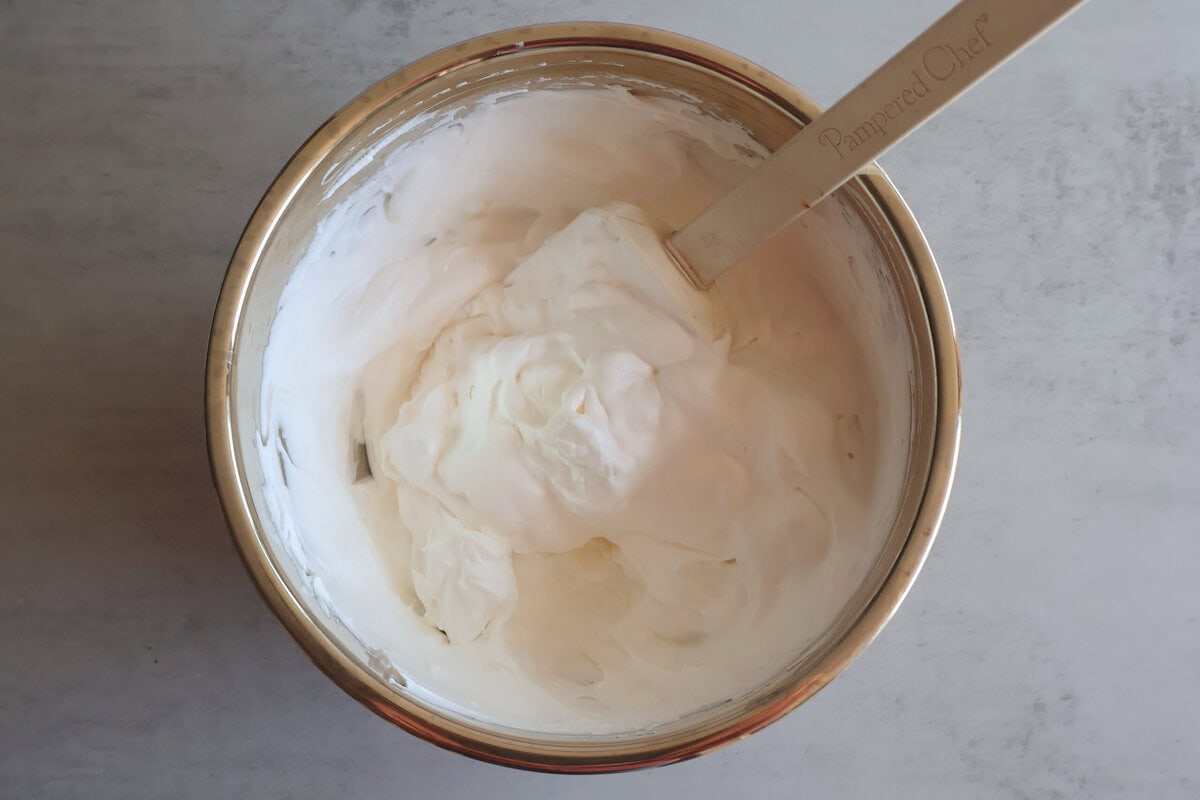
2. Make the creamy layer:
In another bowl, beat cream cheese and powdered sugar until smooth and fluffy. Fold in whipped topping.
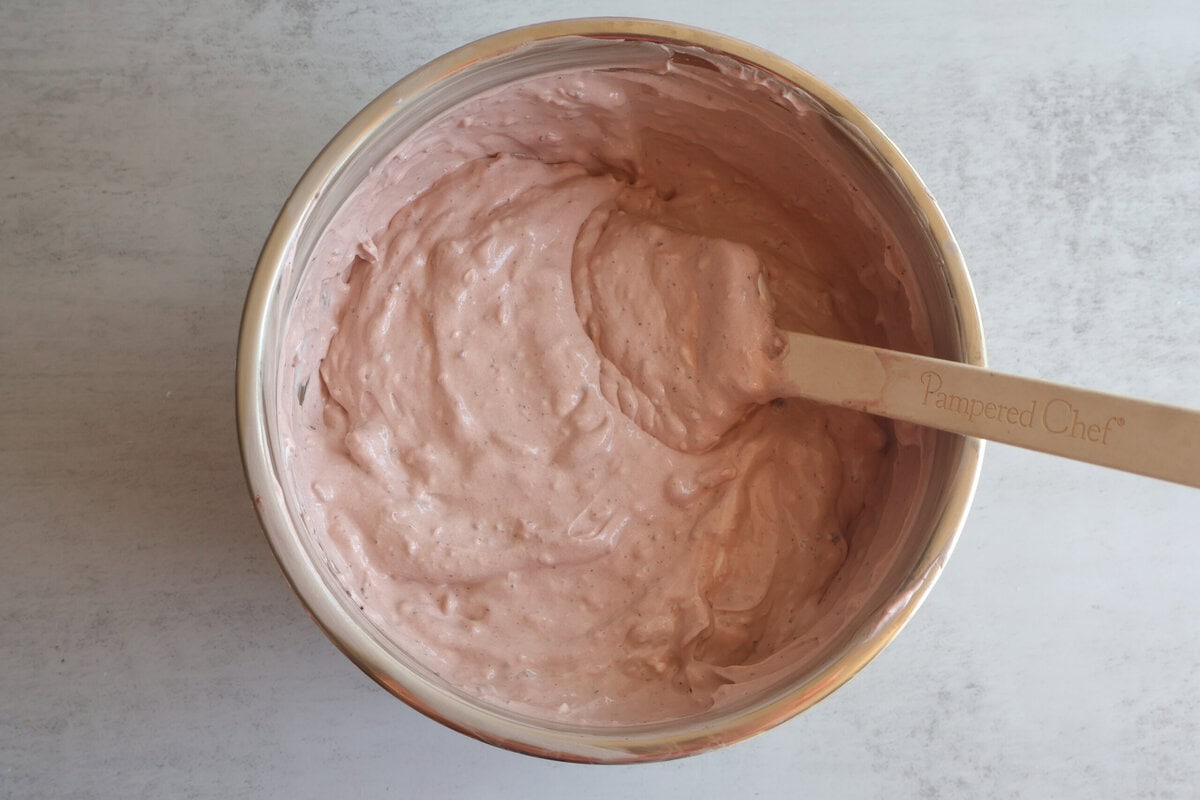
3. Combine:
Gently fold the pudding into the cream cheese mixture until fully combined and creamy.
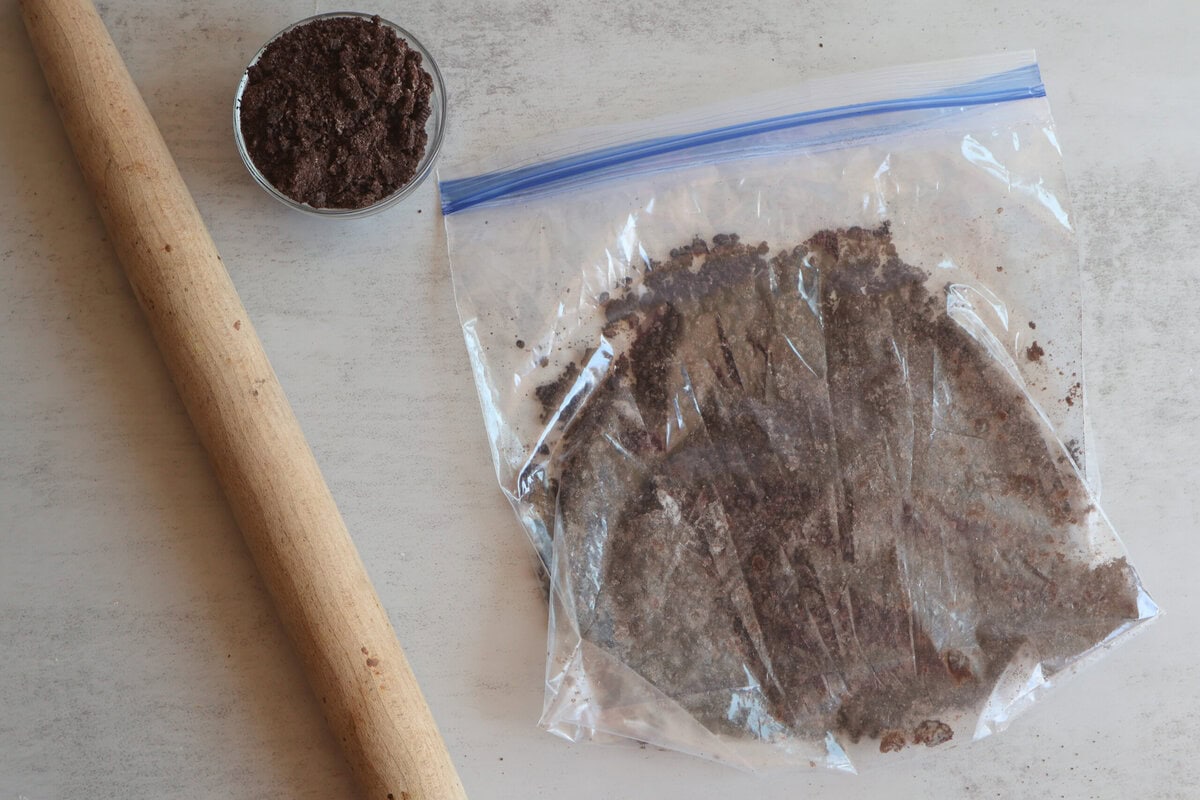
4. Crush the cookies:
Place cookies in a zip-top bag and crush into fine crumbs (leave a few chunky bits for texture!).
5. Assemble the flowerpots:
- Add a layer of pudding mixture to each pot
- Add a sprinkle of cookie “dirt”
- Repeat layers until full
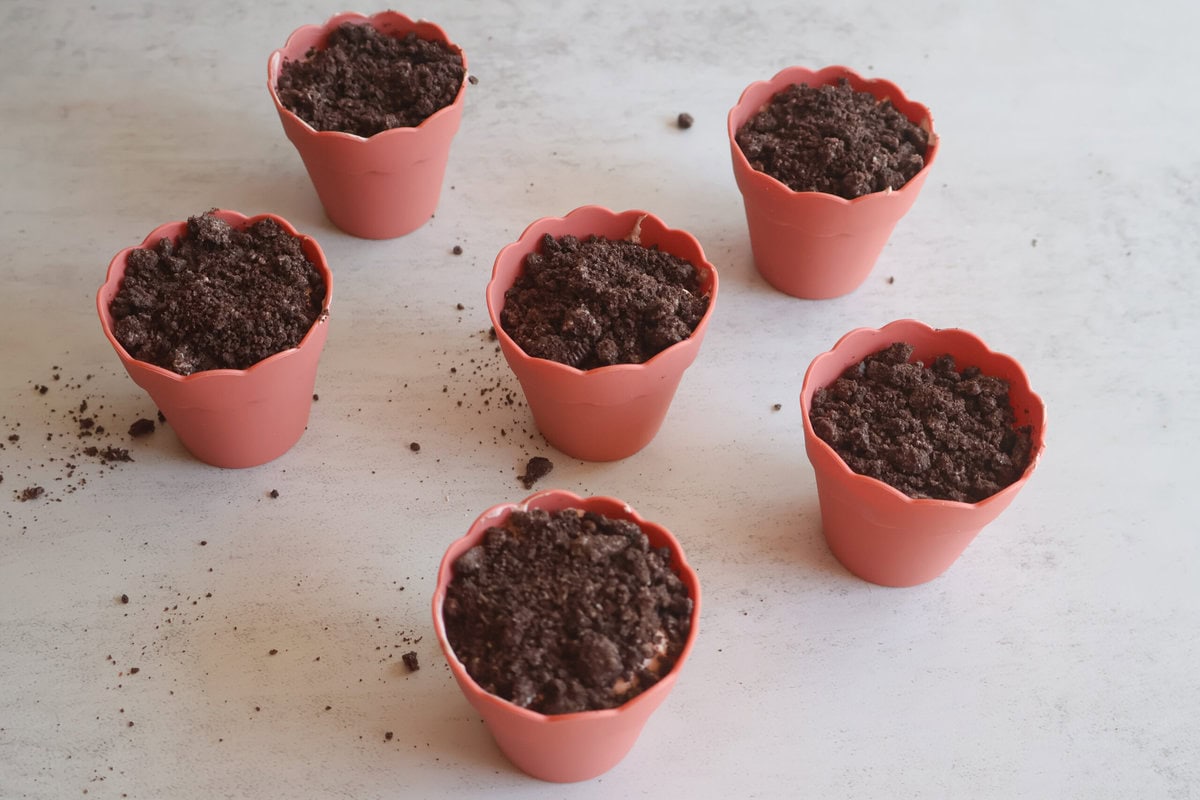
6. Top & decorate:
- Finish with a thick layer of cookie crumbs on top.
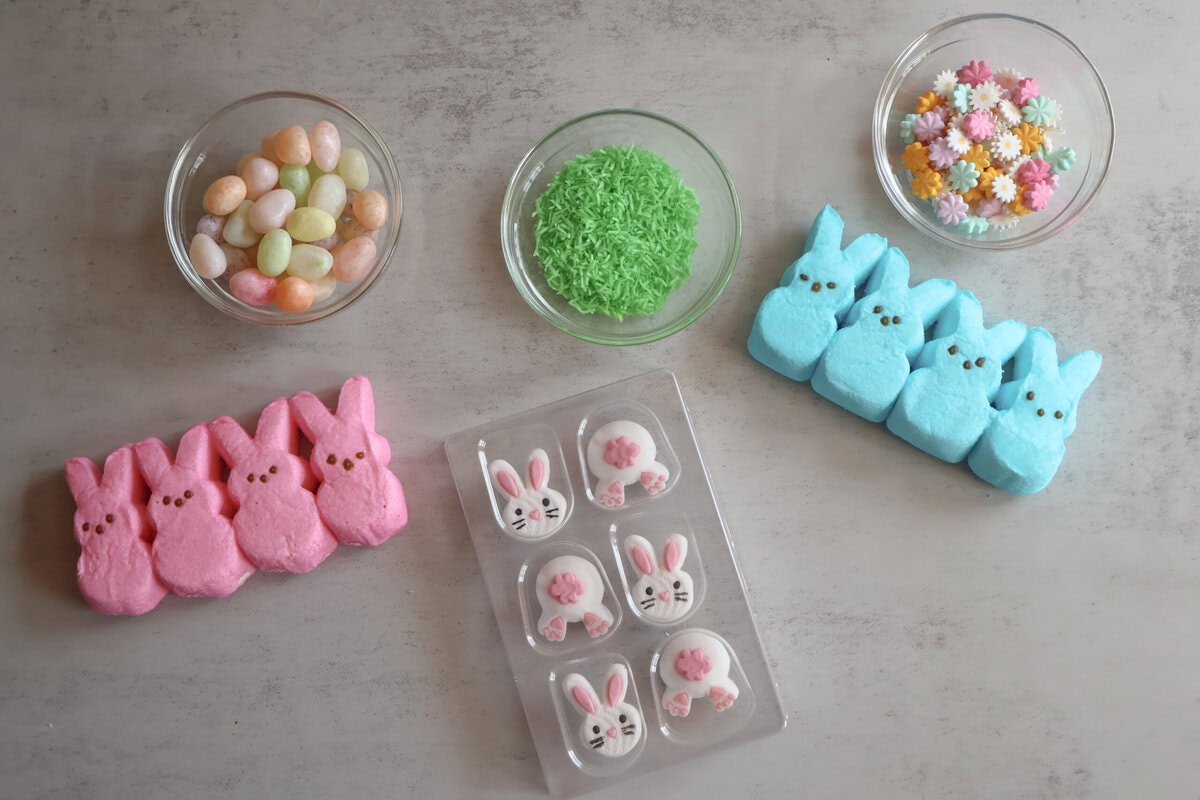
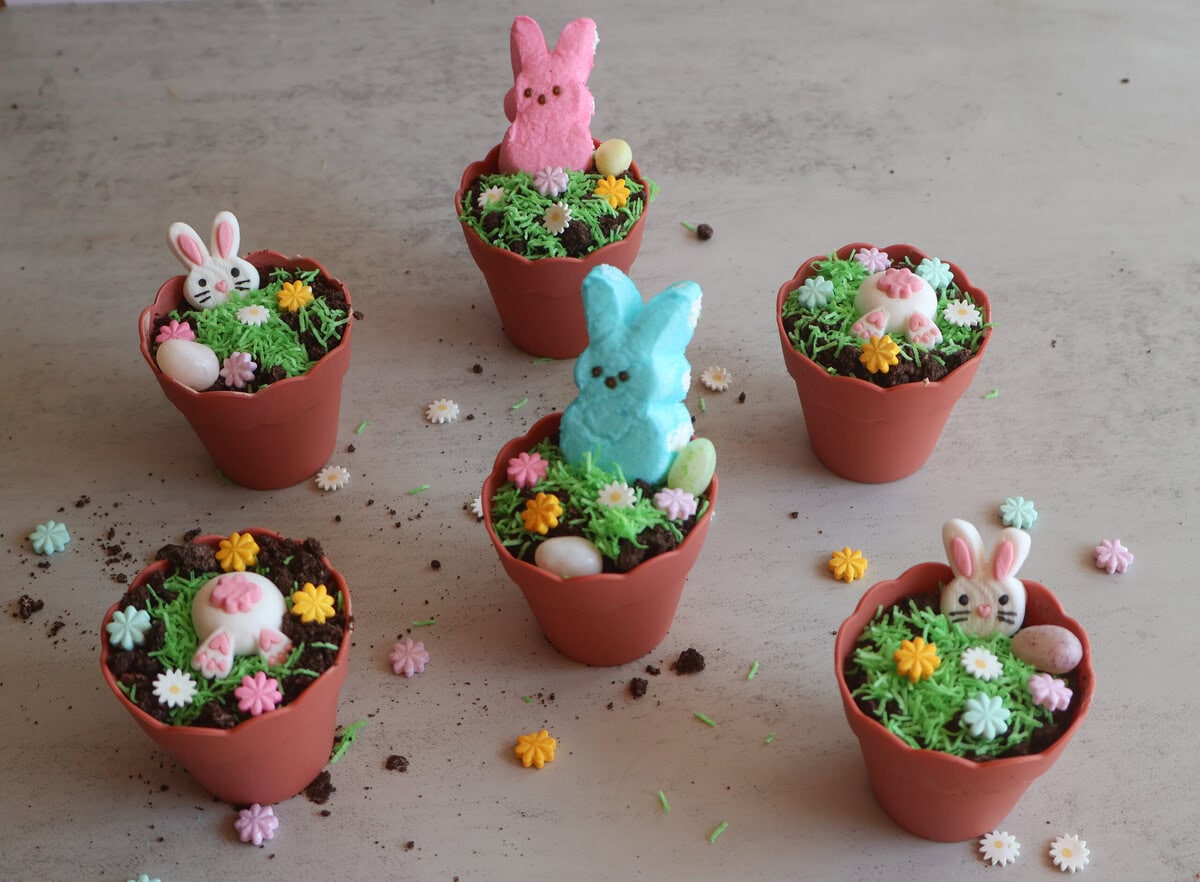
- Add any Easter toppings of your choice like jelly beans, bunnies, peeps, edible grass and flowers, etc.
I found all of these cute decorations at Michaels craft store. I even got the flowerpots here which gave me my inspiration. 😉
🌷 Helpful Tips & Tricks for Perfect Easter Dirt Cups:
Texture is Everything:
- Use a mix of fine and chunky cookie crumbs
Aim for that “real dirt” look with a little texture variety - Let the cups chill at least 30 minutes
This helps the layers set and gives that rich, mousse-like texture instead of runny pudding
Layer Like a Pro:
- Use a piping bag or zip-top bag (snip the corner!) to pipe pudding neatly into pots
- Lightly tap the pots on the counter after each layer
This removes air gaps and makes layers look clean and even
🌼 Make the “Flowers” Look Real:
- Pipe frosting directly onto cookies before placing them in the cups.
It's way easier than decorating inside the pot. - Use a toothpick to swirl colors together for a natural flower look (so pretty and simple)
- Want a shortcut?
Use store-bought frosting and sprinkles instead of piping intricate flowers. I bought flower candy from Michaels craft store. So cute and so easy!!
🐣 Decorating That Pops:
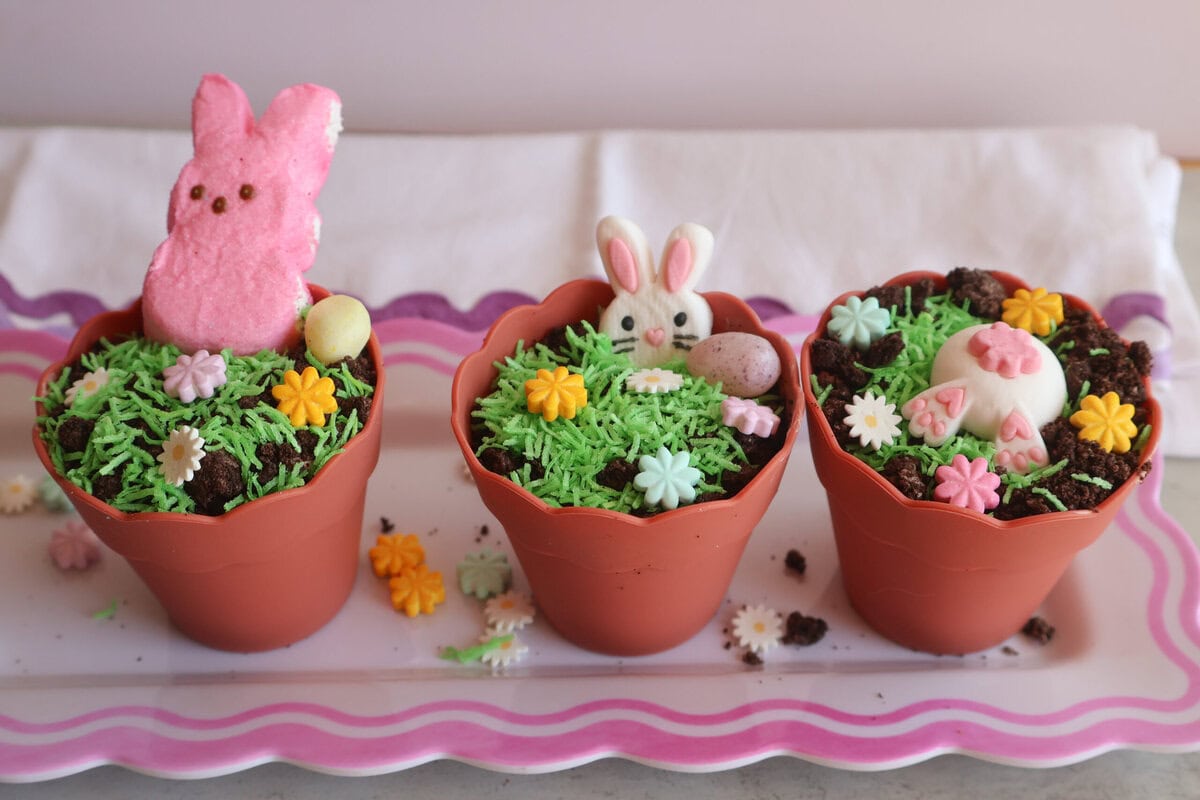
- Add candy eggs right before serving. This
prevents colors from bleeding into the “dirt." - Stick cookies/flowers in at a slight angle.
This makes it look like a real planted arrangement 🌸 - Don’t overcrowd the top. Leave some “dirt” visible for that realistic garden look.
Make Ahead and Storage Tips:
- Make up to 24 hours ahead and refrigerate
- Add decorations right before serving for best look
- Store covered in the fridge for up to 3 days
- Not freezer-friendly (texture changes)
FAQ's:
Can I use real terracotta pots?
Yes! Just make sure they’re brand new, food-safe, and lined with a cup or parchment.
Can kids help make this?
Absolutely—this is one of the BEST kid-friendly desserts ever.
Can I make this dairy-free?
Yes! Use dairy-free pudding, cream cheese, and whipped topping.
Substitutions & Variations:
- Use vanilla pudding for a lighter flavor
- Swap Oreos for chocolate graham crackers
- Add a layer of peanut butter cups for a surprise center
- Use real whipped cream instead of whipped topping
- Make it in a large trifle dish instead of pots
Recent Recipes:


Easter Mini Flowerpot Dirt Cups
Equipment
- Mini Flowerpots (Food-Safe)
- Mixing Bowls + Hand Mixer
- Food Processor or Zip-Top Bag and Rolling Pin
- Piping Bags (or Zip-Top Bags)
Ingredients
For the Dirt Filling:
- 1 (3.9 oz) box instant chocolate pudding mix
- 2 cups cold milk I used whole milk
- 8 oz cream cheese, softened
- ¼ cup powdered sugar
- 1 (8 oz) tub whipped topping (like Cool Whip)
For the “Dirt”:
- 20–24 chocolate sandwich cookies, crushed
For Decorating:
- Candy-coated chocolate eggs (mini eggs or Cadbury-style)
- Jelly Beans
- Candy Flowers, Candy Bunnies, Peeps
- Edible grass
For Serving:
- 6–8 mini food-safe flowerpots (or clean new terracotta pots lined with cups)
Instructions
- In a bowl, whisk together pudding mix and cold milk until smooth. Let it thicken for 5 minutes.
- In another bowl, beat cream cheese and powdered sugar until smooth and fluffy. Fold in whipped topping.
- Gently fold the pudding into the cream cheese mixture until fully combined and creamy.
- Place cookies in a zip-top bag and crush into fine crumbs (leave a few chunky bits for texture!).
Assemble the flowerpots:
- Add a layer of pudding mixture to each pot
- Add a sprinkle of cookie “dirt”
- Repeat layers until full
Top & decorate:
- Finish with a thick layer of cookie crumbs on top
- Add candy eggs
- Add peeps, edible grass and flowers
Notes
- Add a hidden candy layer in the middle for a fun surprise.
- Dust the top with a little cocoa powder and cookie crumbs for even more realistic “dirt.”
- Wipe the inside rim before serving for that bakery-style clean finish.
- Angle your cookie “flowers” slightly. it makes them look like real planted stems. 🌼
- Decorate cookies before placing them in the cups.