


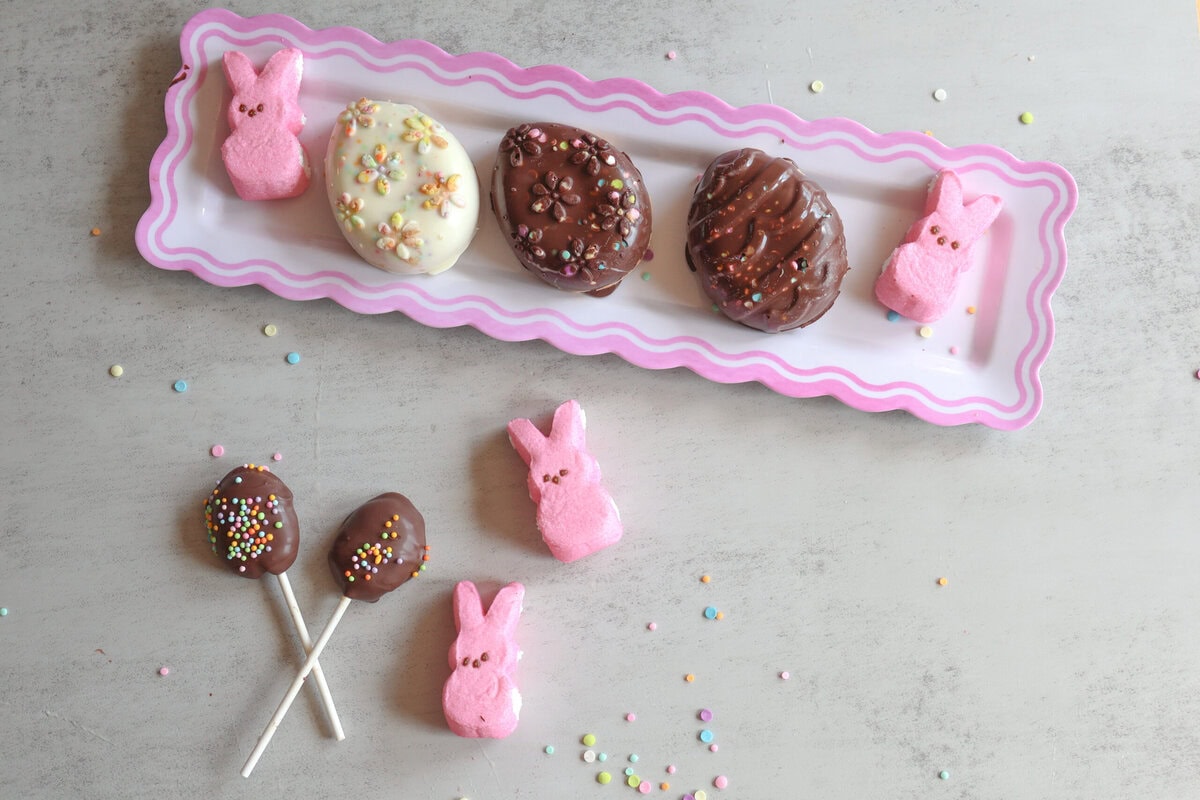
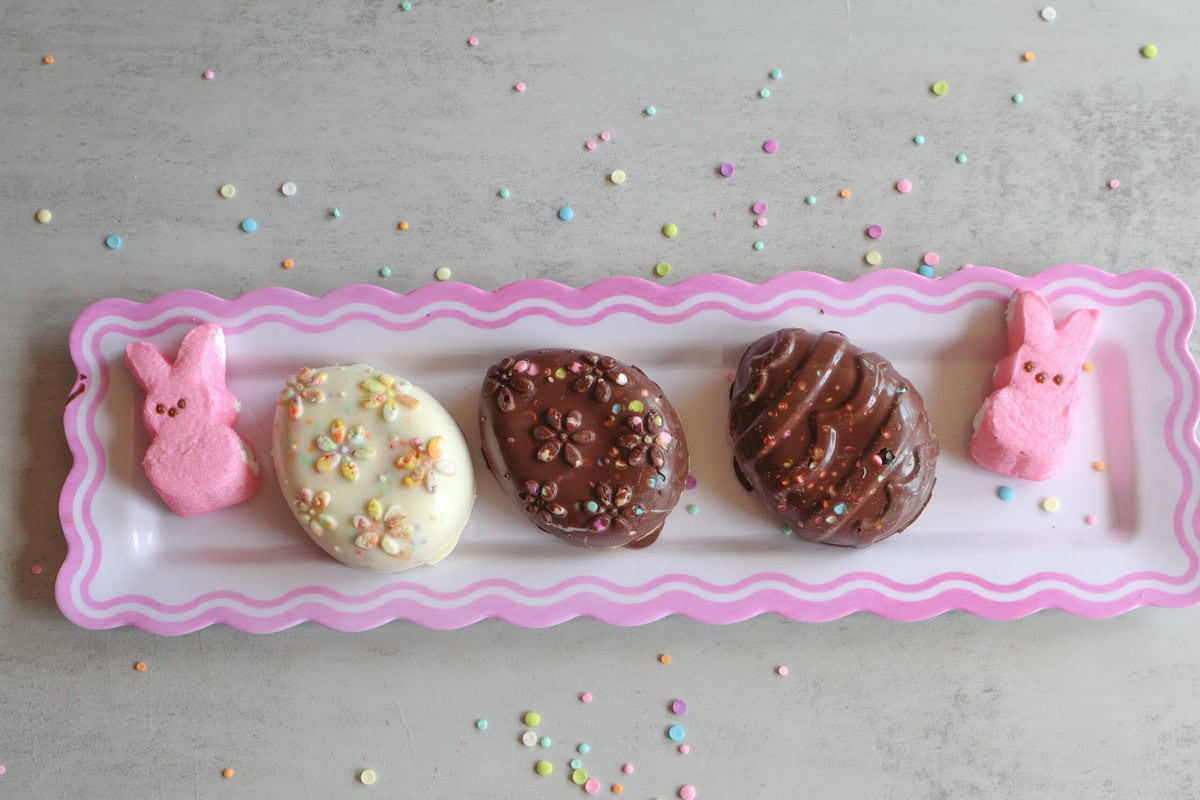
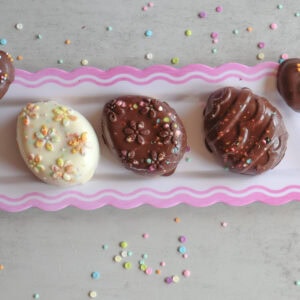
Every year, I love finding that one Easter treat that makes everyone stop mid-bite and go, “Wait… you made these?!” These Creamy Peanut Butter Easter Eggs are exactly that. They’ve got that nostalgic chocolate and peanut butter combo we all love, but with a softer, richer filling and the cutest festive shape thanks to a silicone mold. Plus! They’re surprisingly easy and perfect for making with the kids (and hiding a few for the adults!)
💕 Why You’ll Love This Recipe
- No baking required (Woo Hoo!)
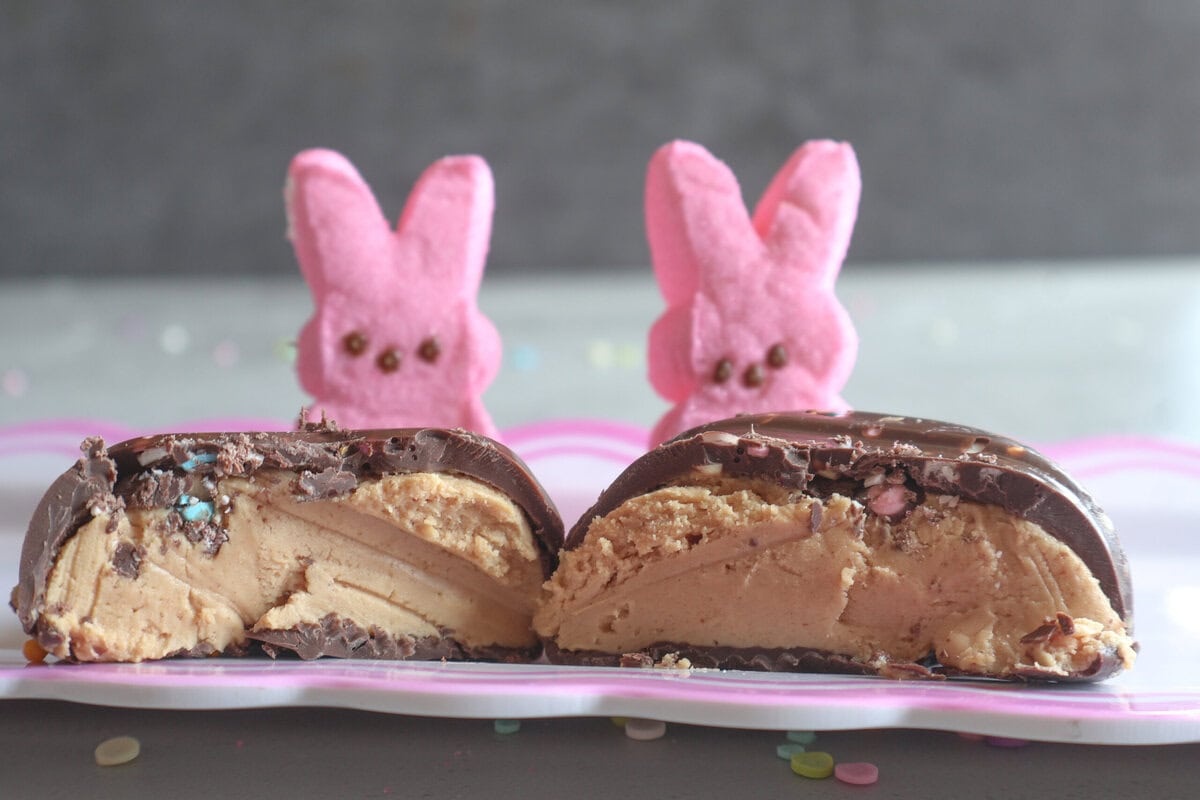
- Ultra creamy, melt-in-your-mouth filling
- Perfectly shaped every time (thanks silicone molds!)
- Way better than store-bought candy
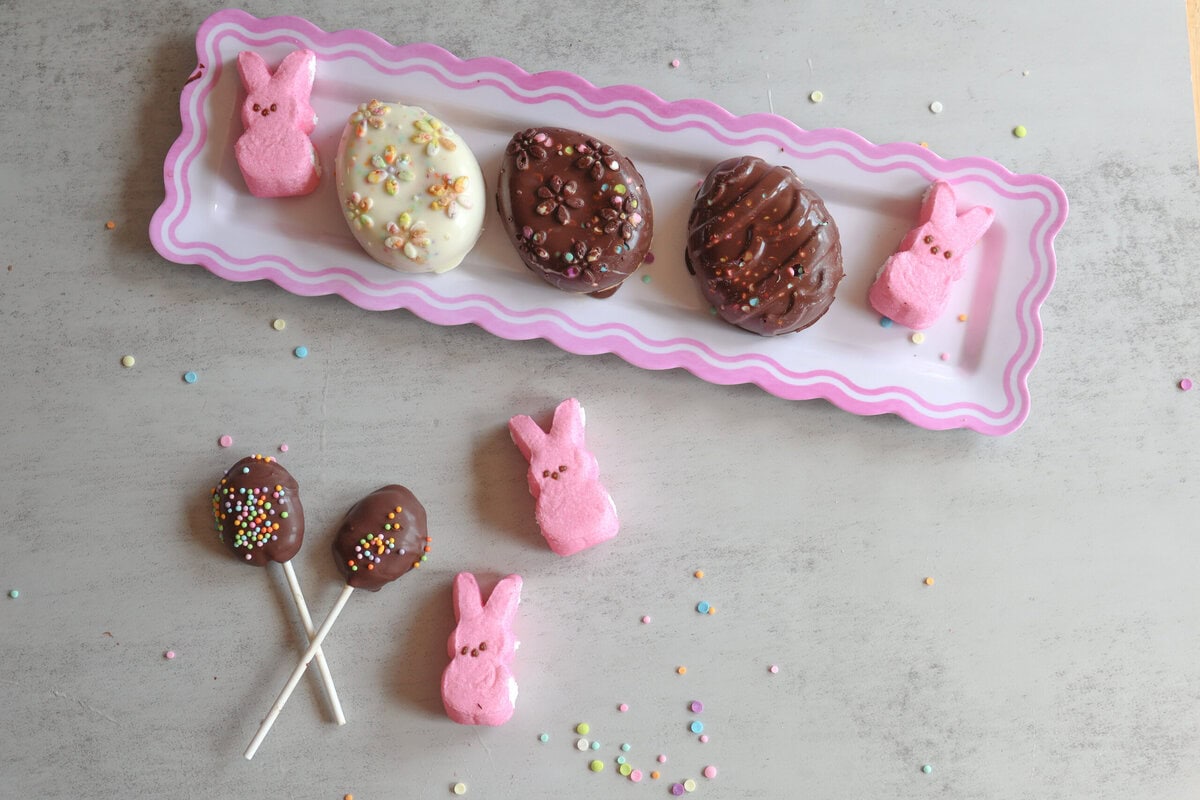
- Fun to customize for Easter baskets or dessert boards
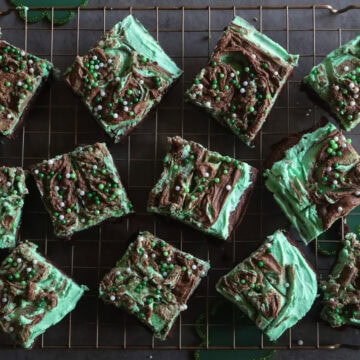
If you love this recipe you'll also need to try my Easy No Bake Grasshopper Bars
Ingredients:
Jump to:
- 💕 Why You’ll Love This Recipe
- Ingredients:
- Instructions:
- Helpful Tips & Tricks for Perfect Peanut Butter Easter Eggs:
- Freeze you filling:
- The Best Melting Technique:
- Silicone Mold Magic:
- Clean, Bakery-Style Finish:
- Make Ahead and Storage Tips:
- FAQ's:
- Substitutions & Variations:
- Recent Recipes:
- Creamy Peanut Butter Easter Eggs
- Optional Decorations:
Instructions:
1. Make the Peanut Butter Filling:
- In a bowl, mix peanut butter, butter, and vanilla until smooth
- Gradually add powdered sugar until a soft dough forms
- It should be firm enough to hold shape but still creamy
If it’s too sticky, add a little more powdered sugar

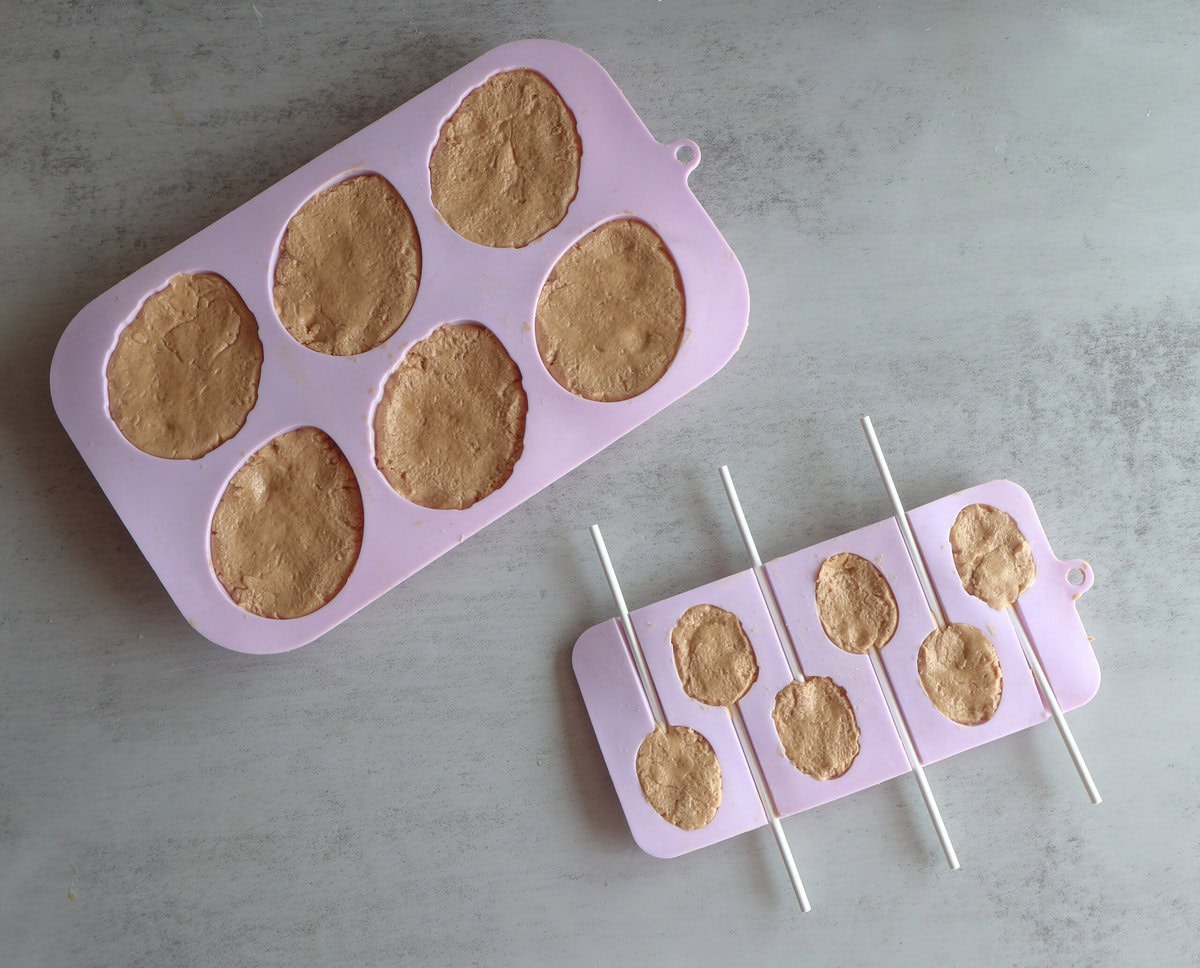
2. Fill the Silicone Mold:
- Lightly press the peanut butter mixture into your silicone Easter egg mold
- Smooth the tops flat
- Freeze for 20–30 minutes until firm
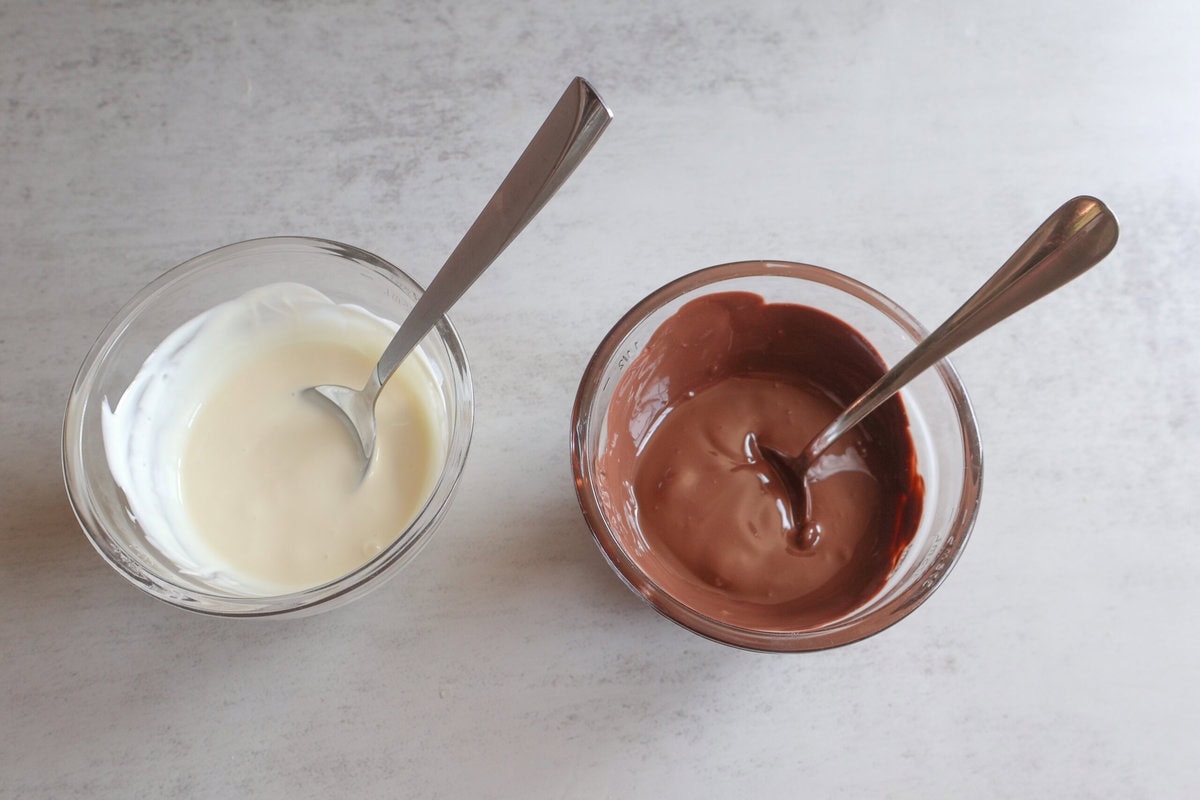
3. Melt the Chocolate:
- Melt chocolate wafers in the microwave in 30-second intervals
- Stir until smooth
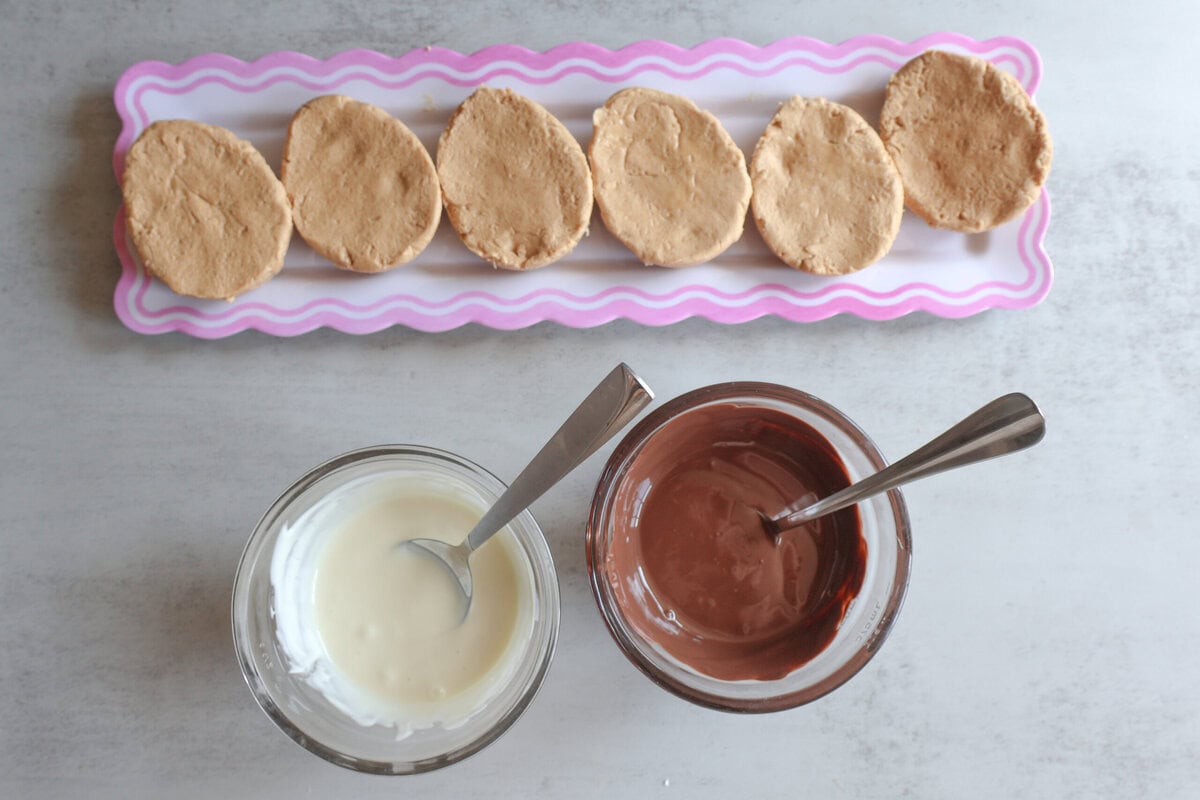
4. Coat the Eggs (Easy Mold Method!)
- Spoon a layer of melted chocolate into each mold cavity
- Add the frozen peanut butter filling
- Cover the back with more melted chocolate and smooth
Tap mold gently to remove air bubbles
5. Chill & Release:
- Refrigerate for 20–30 minutes until fully set
- Pop out of molds carefully
Helpful Tips & Tricks for Perfect Peanut Butter Easter Eggs:
- Use regular peanut butter (like Jif or Skippy) for the creamiest, most stable filling
- If your mixture feels too soft, chill it for 10 minutes before molding
- Want it extra smooth? Beat it with a hand mixer instead of stirring
Freeze you filling:
- Don’t skip freezing the filling! It makes dipping and molding SO much easier
- But don’t over-freeze either. Rock-hard filling can crack your chocolate coating
Make sure the filling is firm but slightly give when pressed
The Best Melting Technique:
- Use melting wafers instead of chocolate chips for a glossy, smooth finish
- Add 1 teaspoon coconut oil or shortening to melted chocolate for easier spreading
- Stir slowly to avoid air bubbles
Silicone Mold Magic:
- Lightly tap the mold on the counter after adding chocolate to remove air bubbles
- Use a spoon or small offset spatula to push chocolate up the sides for full coverage
- Slightly overfill the centers for that thick peanut butter bite everyone loves
Clean, Bakery-Style Finish:
- Wipe excess chocolate off the mold edges before chilling
- Once set, gently trim edges with a knife if needed for a polished look
- Use a fork or piping bag to drizzle for that “fancy but effortless” look
Make Ahead and Storage Tips:
Store in an airtight container in the fridge for up to 1 week Freeze for up to 2 months (perfect for prepping ahead!) Let sit at room temp 5–10 minutes before serving for best texture
FAQ's:
Can I use natural peanut butter?
Not recommended, it’s too oily and won’t hold shape as well.
Do I have to use a silicone mold?
No! You can hand-shape eggs, but molds make them extra pretty and uniform.
Why is my chocolate cracking?
Your filling may be too cold. Let it sit for a minute before coating.
Substitutions & Variations:
- Swap peanut butter for almond or cookie butter
- Use white chocolate for a pastel Easter vibe
- Add crushed pretzels for crunch
- Mix in mini chocolate chips for texture
Recent Recipes:

Creamy Peanut Butter Easter Eggs
Equipment
- Silicone Easter Egg Mold
- Microwave-safe bowl
- Rubber Spatula or Silicone Spoon:
- Small Offset Spatula
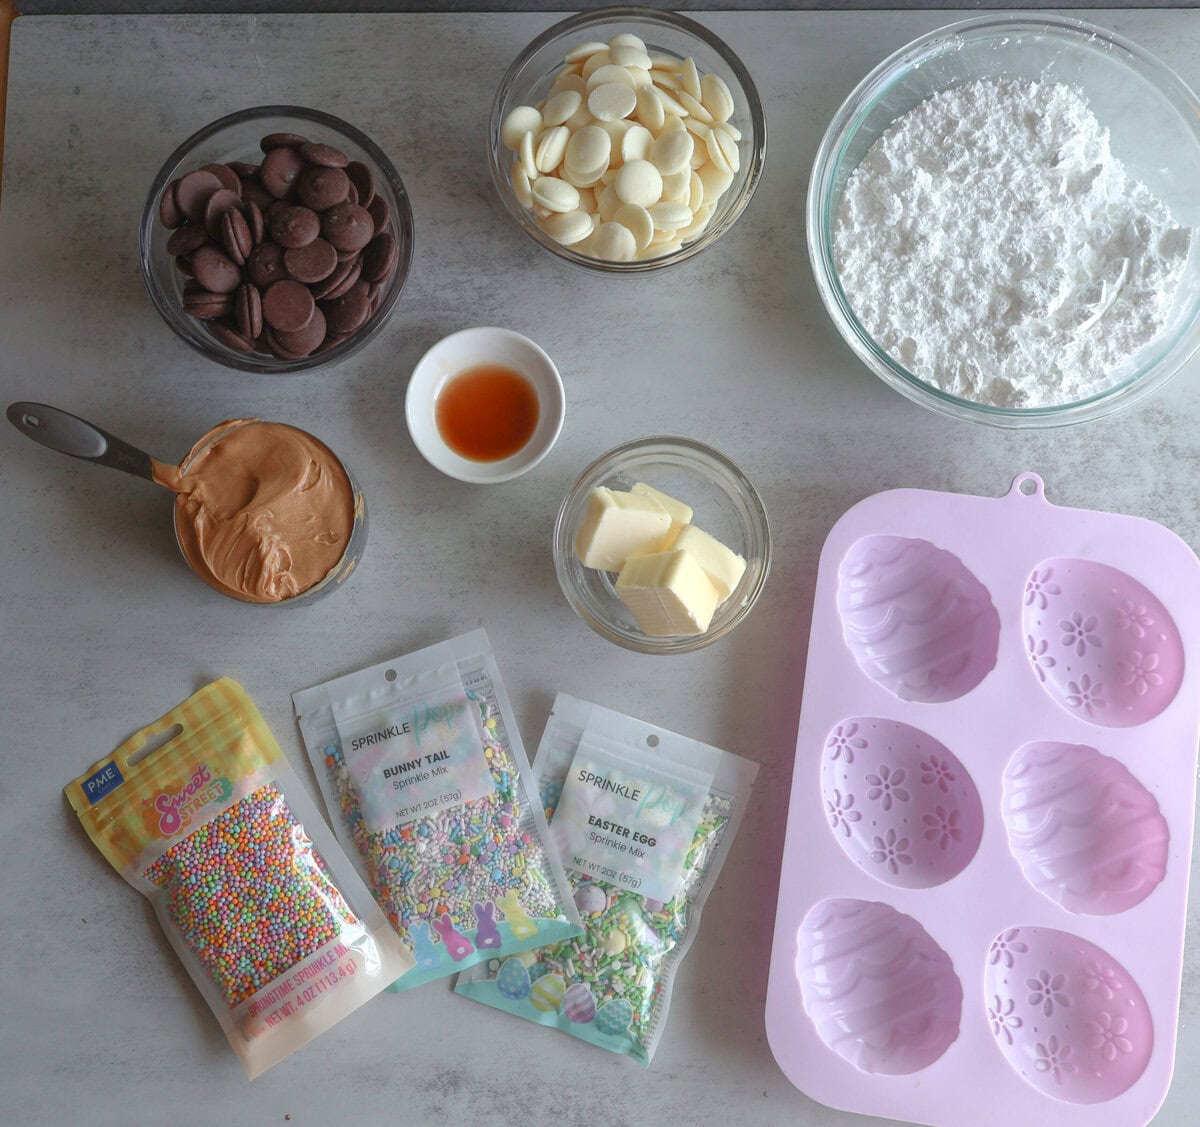
Ingredients
- 1 cup creamy peanut butter
- 4 tablespoon unsalted butter, softened
- 1 teaspoon vanilla extract
- 2½ cups powdered sugar
- 3 cups chocolate melting wafers (milk, dark, or white)
- Optional: pinch of salt (balances sweetness)
Instructions
Make the Peanut Butter Filling:
- In a bowl, mix peanut butter, butter, and vanilla until smooth
- Gradually add powdered sugar until a soft dough formsGradually add powdered sugar until a soft dough forms
- It should be firm enough to hold shape but still creamy
. Fill the Silicone Mold:
- Lightly press the peanut butter mixture into your silicone Easter egg mold
- Smooth the tops flat
- Freeze for 20–30 minutes until firm
Melt the Chocolate:
- Melt chocolate wafers in the microwave in 30-second intervals
- Stir until smooth
Coat the Eggs:
- Spoon a layer of melted chocolate into each mold cavity
- Add the frozen peanut butter filling
- Cover the back with more melted chocolate and smooth
- Tap mold gently to remove air bubbles
Chill & Release:
- Refrigerate for 20–30 minutes until fully set
- Pop out of molds carefully
Notes
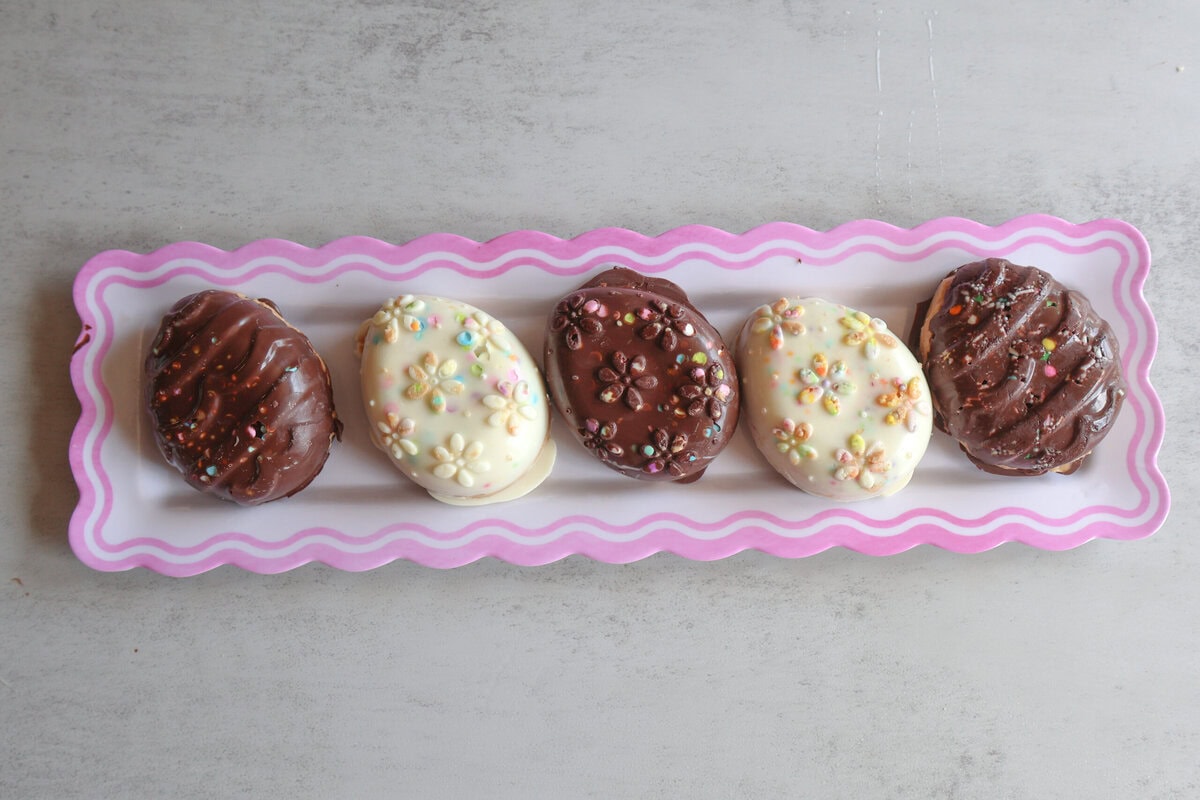
Optional Decorations:
- Drizzle with white chocolate
- Add pastel sprinkles
- Pipe little zigzags or stripes for a bakery-style look
- Sprinkle flaky salt for a sweet and salty twist